
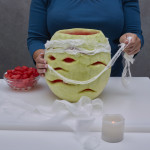
Mummy
5
Have Made It
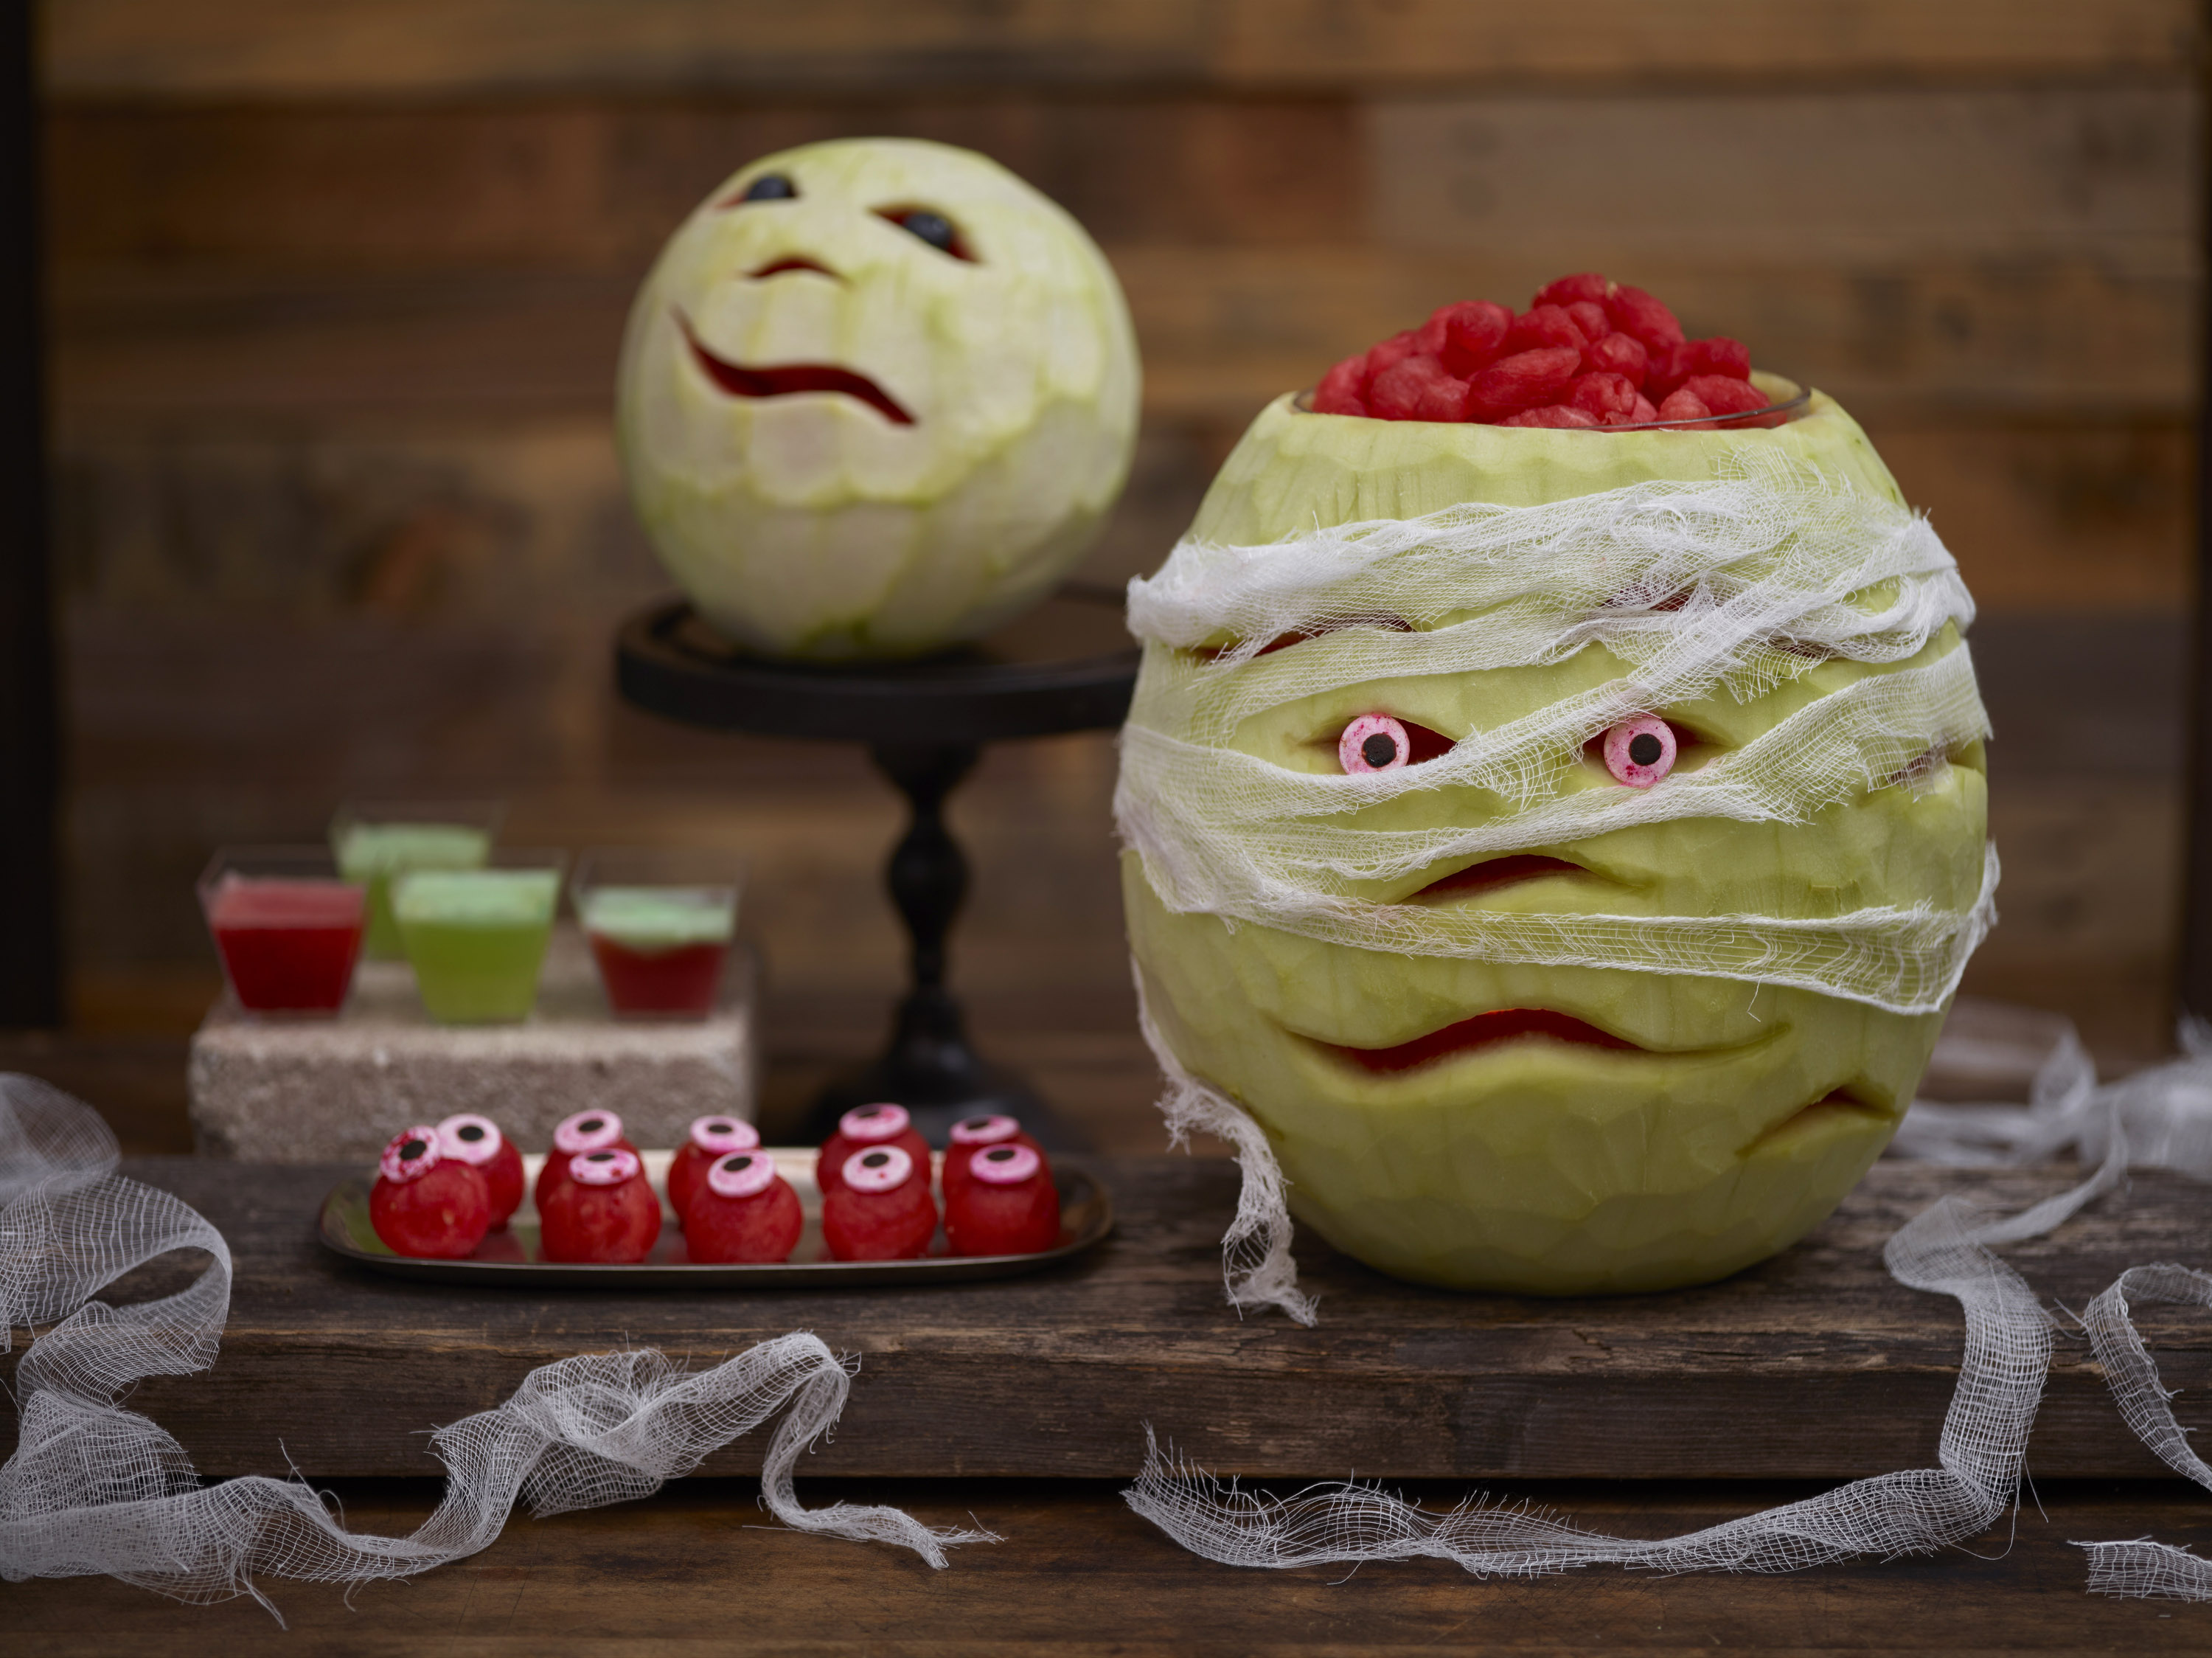
This mummy carving is both spooky and sweet!

Materials
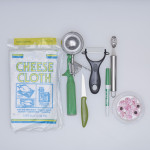
Supplies
Tools
Instructions
- Wash the watermelon under cool running water and pat dry.
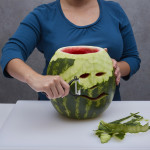
- On a cutting board, place the watermelon on its side and use the kitchen knife to cut off 1/4”-1/2” from the bottom, being careful not to cut to deep into the white part of the rind. This will provide a sturdy base. Cut 1/2”-3/4” from the stem end to create an opening for a bowl to be added filled with watermelon balls.
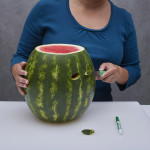
- Draw eyes, nose and a mouth, along with wavy slits around the carving to let more light flow through with the dry erase marker and use a paring knife to cut them out, being sure to cut all the way through to the red.
- Use a fluted or regular melon baller to hollow out the inside of the watermelon so a candle can illuminate the carving. Use a scoop to remove any excess watermelon.
- Peel all the green rind off the outside of the watermelon, different peelers worked well for different parts or the watermelon as to how flat or how rounded the melon was.
- Wrap thin strips of cheesecloth around the mummy carving and secure with a straight pin if needed. Put a battery-operated candle or light into the carving and fit a small bowl into the top of the carving. Trim away any excess rind to make the bowl fits securely.
- Fill the bowl with the melon balls and attach the candy eyes or blueberries to the eyes.

Leave a Review